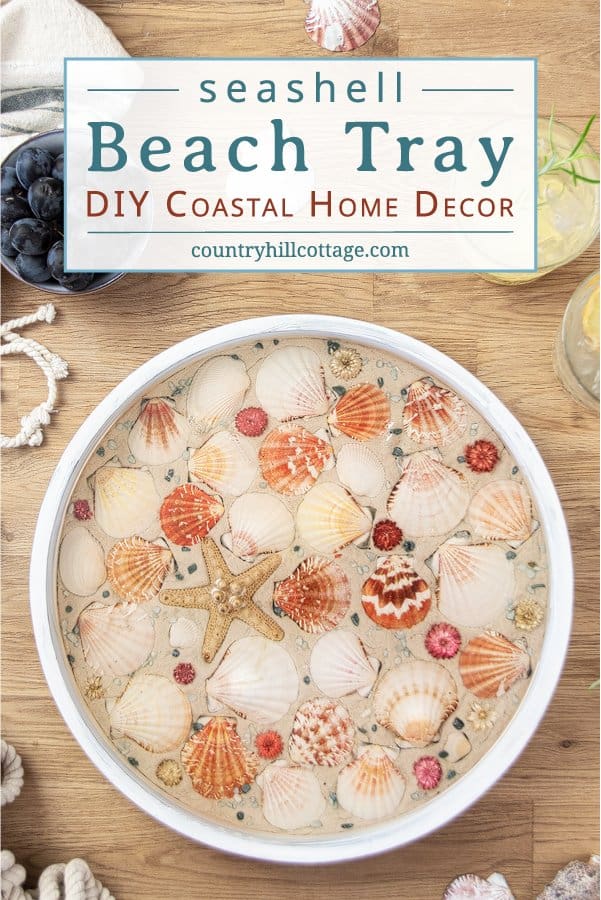
Learn how to make a pretty DIY beach tray with seashells! This easy seashell craft is a fun summer craft project and beautiful coastal decor. The step-by-step tutorial includes tips for choosing materials and working with resin so you can create a homemade seashell serving tray, too!
Disclosure: This post contains affiliate links, meaning, at no additional cost to you, we will earn a small commission if you click through and make a purchase. Learn more
DIY beach tray – Beautiful coastal decor and fun summer craft
Do you adore coastal decor as much as I do? Every year, my family spends a few sunny days at the seaside. And every year, I collect buckets worth of shells, driftwood and sea glass. Sounds familiar? Today, I show you how to turn these seaside treasures into a charming DIY beach tray.
There’s something undeniably appealing about nautical elements and collected finds from nature. I am really excited to share with you how to make a DIY serving tray with sand and seashells, because I think it’s a wonderful summer craft idea.
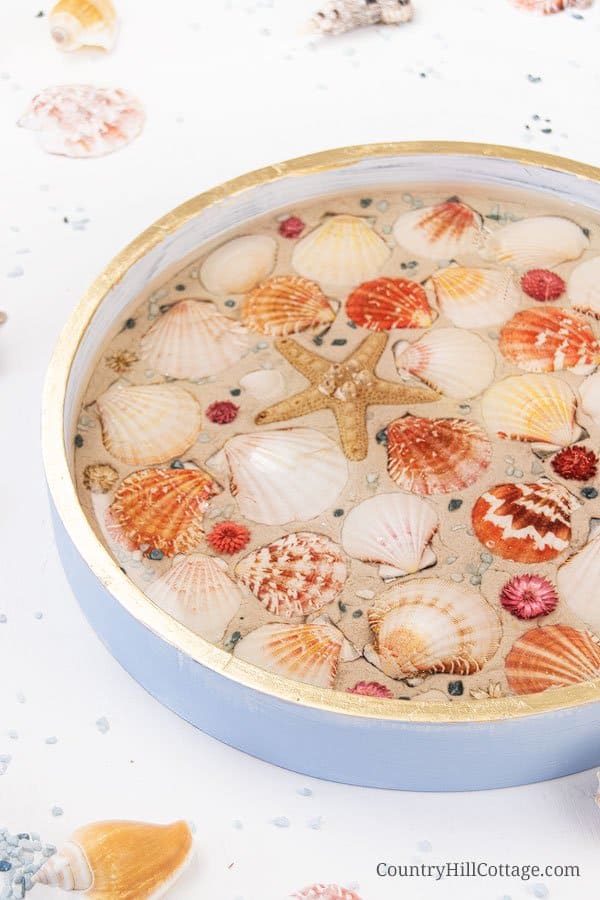
This coastal serving tray makes a beautiful coffee table tray and elegant coastal decor. Combine it with other seashell decorating ideas to create beach house decor. It also makes a stunning serving tray for parties and summer entertaining. Who wouldn’t love drinks and snacks served on this decorative tray?
Materials for a seashell serving tray
Here is the materials list for a coastal DIY wood serving tray:
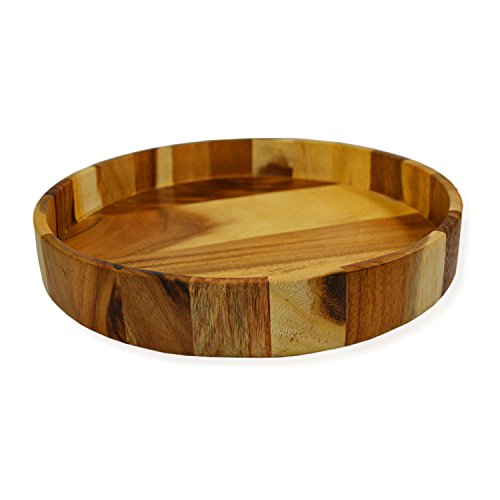
- round wooden tray – Ideally, use a deep serving tray without cutout handles. Round, rectangle and square are all fine, but you’ll need more materials to fill a square or rectangular tray. My tray was 11 in / 28 cm wide and 1.5 in / 4 cm deep. Of course, you can also use a metal tray instead of a rustic wood serving tray.
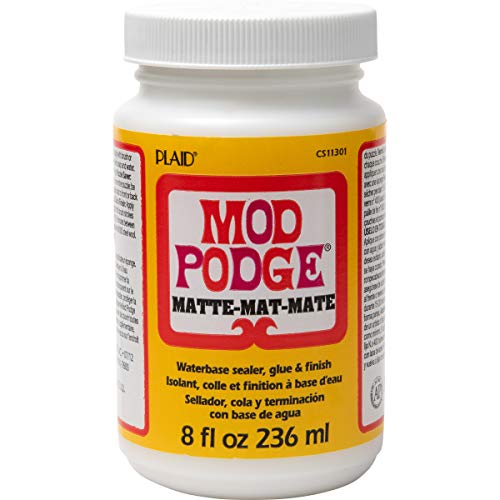
- fine sand and Modge Podge – Both materials are needed to mix the sand base. White craft glue (e.g. Elmer’s) will work as well.
- seashells and coastal decor – Pick seashells and decorations that are flat. Clams and oyster shells are good options. I don’t recommend large conch or snail shells because they will stick out too much. We want DIY serving tray a flat surface. Driftwood, dried flowers, and stones are other coastal decorating ideas.
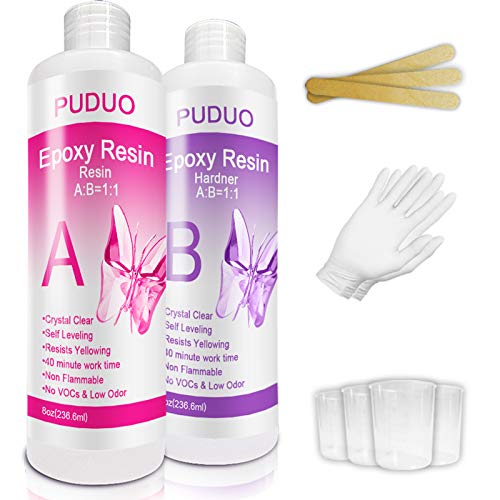
- resin – A layer of epoxy resin creates a realistic underwater effect. The resin also protects the seashells and makes a flat surface. Epoxy resin is a two-part system, the resin and the hardener. Read on to learn my tips for how to work with resin.
- paint (optional) – You can paint the handmade serving tray. Chalk paint is excellent for a beachy farmhouse serving tray.


How to make a beach tray
This homemade seashell tray is beautiful summer home decor! Let’s get on with the details so you can make your own DIY tray! Let me walk you through the easy steps:
Prep the wood tray
If you have a beautiful unfinished wooden tray, feel free to leave it as is. Otherwise, paint your tray in any colour you like. The tray I used was a black round serving tray. The first thing I did was to sand it down and add a quick coat of white chalk paint.
I painted pretty roughly to create the impression of rustic coastal design meets farmhouse beach decor. You can still see some of the original colour shining through, and it fits in nicely with the rest of my farmhouse decor.
Wait until the tray is completely dry before continuing to next step.
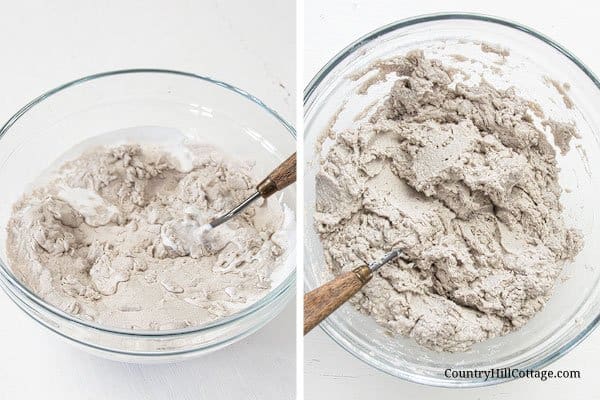
Mix the sand and glue
In a large mixing bowl, combine the sand and Modge Podge. The mixture should have the consistency of wet sand. I used 1 1/2 cups sand and approximately 6 oz Modge Podge. You may have to use less or more depending on how absorbent your sand is.

Create the sand base
Transfer the sand mixture into the serving tray. Use a paper kitchen towel to pat the sand mixture evenly on the tray. I tried a spatula but found that the paper towel method works better. I also used the kitchen towels to give the sand some structure and form indentations.
Work somewhat quickly as the mixture begins to set within 20 minutes. Also, clean your tools and mixing bowl right away. Scratching out sand residue is a pain.
Make sure that there is still enough room left for the resin layer. If your tray is shallow, you may use less sand mixture.
Brush leftover sand on empty jars to create sand vases. They will go nicely with your DIY beach tray.

Arrange the seashells
Next, arrange the seashells on the tray and press them gently into the sand mixture. I also added a ceramic starfish, dried flowers to represent corals, and small decorative stones.
If you don’t like your layout, simply reposition the shells.
Let the coastal tray dry
Once the seashells are in place, airdry the decorative wooden serving tray. It takes a while until the sand mixture has dried through, usually 24 to 48 hours. It’s a good idea to put the DIY tray on old newspaper to absorb any moisture seeping through the wood.

Pour the resin and cure
Mix the resin and hardener according to the manufacturer’s instructions. Then pour the resin in the DIY beach tray. I started in the middle and poured until most of the surface was covered.
The resin will distribute into an even layer on its own, and I don’t recommend tilting the tray to make the resin move in a certain direction. Some seashells may peek through here and there, but that’s okay.
Let the resin cure for 24 hours. Best is a level surface that will not be disturbed.
Please read my tips below for working with epoxy resin before starting this step!
Finish the nautical tray
Once the resin has dried, it’s time to put the finishing touches on our coastal serving tray. You can:
Tips for working with resin
Whether you’re new to epoxy resin or have used it before, my tips will be helpful to you working with epoxy resin:
Safety tips and prep
Resin is very sticky and difficult to remove. Wear rubber gloves and cover the work area. Wax paper as a good idea as resin won’t stick to it.
Also, pour and mix the resin in disposable containers, for example, plastic cups or cleaned salsa jars. Remember, resin is super sticky and it will be almost impossible to remove from dishes and bowls.
Work in a well-ventilated area.
Mix the resin and hardener
Epoxy resin comes in two parts, the resin and the hardener. The brand I used had 1:1 ratio of resin to hardener. Your product may have a different mixing ratio, so follow the manufacturer’s instructions. It’s important to measure accurately as the resin may not cure properly otherwise.
Resin needs to be stirred for at least 3 minutes, but I like to mix a little longer to ensure the resin and hardener are well combined. Again, see the manufacturer’s recommendations.
Remove bubbles
After a resin pour, bubbles will come to the surface. You can use a heat gun or stick lighter to dissolve bubbles. Do this only while the resin is still wet, approximately up to 30 minutes after pouring. After that, bubbles won’t dissolve, you would just burn the resin.
Since this DIY home decor idea is sea-themed, I didn’t fuss too much about the bubbles. I think they make the underwater effect even more realistic. Anyway, you have the option.

How to care for your coastal tray
A soft microfiber cloth is best to clean the nautical serving tray. It’s as simple as whipping the whole tray down. Avoid anything that could scratch the resin surface, e.g. steel brushes or wire wool scrubbers.
A damp cloth and a little dish soap are your best friends when you need to remove sticky buildup (drink spillage, food residue). In case your tray is made of unfinished wood, be careful with water and cleansers to avoid staining.
Let the DIY serving tray air dry or gently rub dry with a cloth.

How To Make A DIY Beach Tray with Seashells (Seashell Serving Tray)
Learn how to make a pretty DIY beach tray with seashells! This easy seashell craft is a fun summer craft project and beautiful coastal decor. The step-by-step tutorial includes tips for choosing materials and working with resin so you can create a homemade seashell serving tray, too!
Materials
- 1 deep wooden round serving tray (mine was 11 in / 28 wide and 1.5 in / 4 cm deep)
- 1 1/2 cups / 400 g / 14 oz fine sand
- 3/4 cup / 170 g / 6 oz Modge Podge
- handful flat seashells
- dried flowers (optional)
- decorative mini stones (optional)
- epoxy resin and hardener (I used 1 1/2 cups / 350 ml of each)
Tools
- mixing bowl (for the sand mixture)
- paper towel
- rubber gloves
- disposable containers for mixing the resin (e.g. plastic cups, clean jars)
- wooden stirrer
Instructions
- Optionally paint the tray with chalk paint. Wait until the tray is completely dry before continuing to next step.
- In a large mixing bowl, combine the sand and Modge Podge. The mixture should have the consistency of wet sand.
- Transfer the sand mixture into the serving tray. Use a paper kitchen towel to pat the sand mixture evenly on the tray and to give the sand some structure and form indentations. Make sure that there is still enough room left for the resin layer. If your tray is shallow, you may use less sand mixture.
- Arrange the seashells on the tray and press them gently into the sand mixture. I also added a ceramic starfish, dried flowers to represent corals, and small decorative stones. If you don’t like your layout, simply reposition the shells.
- Once the seashells are in place, air dry the decorative wooden serving tray. It takes a while until the sand mixture has dried through, usually 24 to 48 hours. It’s a good idea to put the DIY tray on old newspaper to absorb any moisture seeping through the wood.
- Mix the resin and hardener according to the manufacturer’s instructions.
- Then pour the resin in the tray. Start in the middle and pour until the surface is covered. The resin will distribute into an even layer on its own, Don't tilt the tray to make the resin move in a certain direction. Some seashells may peek through here and there, but that’s okay.
- Let the resin cure for 24 hours. Best is a level surface that will not be disturbed.
- Once the resin has dried, it’s time to put the finishing touches on our coastal serving tray. You can use a resin polish cream to make the resin shine even more. Or paint the rim golden and glue seashells to the outside of the DIY coastal serving tray.
Recommended Products
As an Amazon Associate and member of other affiliate programs, we earn from qualifying purchases.


Over to you!
Thanks so much for visiting Country Hill Cottage – we’re so happy you’re here! Have some feedback you’d like to share? Leave a note in the comment section below!
If you enjoyed this post, please share it using the social media buttons you see next to the post.
For more crafts, beauty DIYs and recipe, follow us on Pinterest, Instagram, and Facebook.
Cyna xo


Michele
Thursday 1st of February 2024
I love this. Can you use any kind of round tray or does it have to be wooden?
Cyna | Country Hill Cottage
Friday 2nd of February 2024
Hi Michele! yes, you can use any kind of round tray that doesn't leak. Just note that this amount of resin is heavy, so your tray should be somewhat sturdy. Happy crafting!
Pauline
Monday 16th of May 2022
Does this have to be a food safe resin for trays? If so what brand is food safe? Thanks so much
Cyna | Country Hill Cottage
Monday 16th of May 2022
Hi Pauline! You can use food-safe epoxy if you wish, but it's probably not necessary. Once cured, most commercial epoxy resin is food-safe, but I wouldn't place any food directly onto the tray regardless. Still, if you want to go down that route, I'd recommend the epoxy from Stone Coat or Art Resin. I hope this helps and happy making!
Marie
Friday 18th of February 2022
Love this. I’m new to crafting but I love doing it. Some successes and failures. I’m going to try this as I’d love to give these as Christmas gifts. Thank you.
Cyna | Country Hill Cottage
Saturday 19th of February 2022
Thank you so much, Marie! I hope you'll enjoy this project.
Rachelle
Friday 17th of July 2020
Cyna and Irena, this is the link where I featured your cute tray. Thanks again
https://myhubbardhome.com/friday-with-friends-upcycled-and-diy-crafts/
take care Rachelle
Cyna | Country Hill Cottage
Saturday 18th of July 2020
Thank you for including our DIY, Rachelle!
Rachelle
Thursday 11th of June 2020
Cynda, this is a new craft to me - and one I’d love to share with my readers. Are you comfortable with letting me post a picture, with the link back to your site. I will be putting this post out mid July.
Please let me know if you are fine with this. Thanks Rachelle
Cyna | Country Hill Cottage
Friday 12th of June 2020
Hi Rachelle! Yes, feel free to share a picture with a link back to this post on your blog. Thank you so much!