
DIY Moisturizing Soap for Dry Skin


This post may contain affiliate links. Full Disclosure
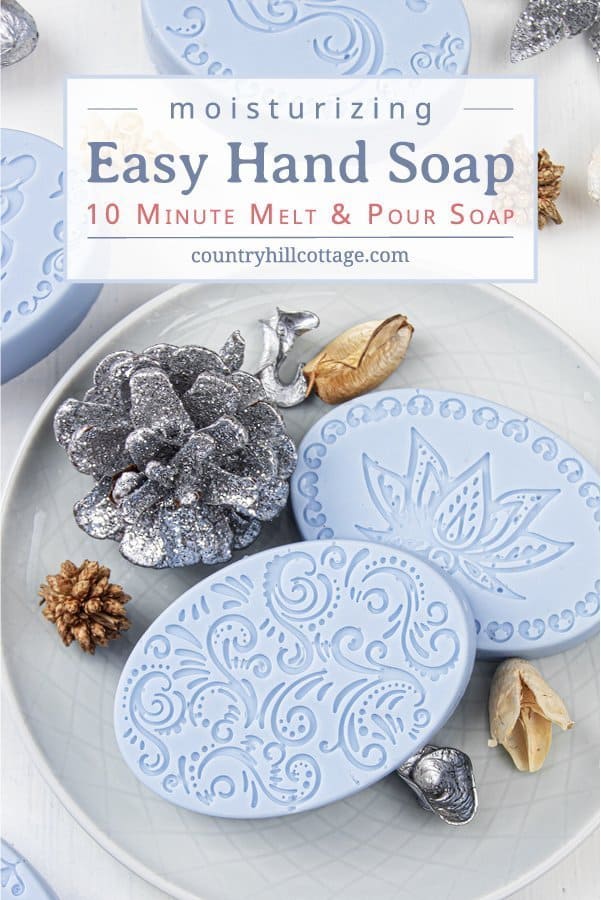
See how to make a moisturizing soap for dry skin in just 10 minutes! This easy DIY melt and pour soap recipe with essential oils is simple to make and very hydrating. The pretty homemade hand soap is a quick handmade Christmas present and beauty gift idea that every skincare lover will appreciate.
Disclosure: This post contains affiliate links, meaning, at no additional cost to you, we will earn a small commission if you click through and make a purchase. Learn more
The best moisturizing soap for dry skin
Last year, my friend Rebecca from Soap Deli News shared a wonderful homemade cold process soap recipe for dry skin (if you haven’t already, check it out asap!). My moisturizing soap recipe is an easy melt and pour soap for dry and sensitive skin. The DIY soap bars feel smooth as silk and are enriched with nourishing cucumber seed oil, vitamin E and a fragrant, hydrating essential oil blend.
And with only 6 ingredients, the homemade melt and pour soap recipe is very beginner-friendly and incredibly simple to make. Just melt the soap base, then stir in a few moisturizing add-ins for melt and pour soap and pour into a pretty silicone mould. You’ll feel like you’re having an expensive soap from a fancy high street shop.
So whether you choose to make Rebecca’s homemade cold process soap or my quick melt and pour tutorial, you’ll always get the best moisturizing soap for dry skin. And I you want to know What can I use instead of soap for dry skin? try these vanilla cleaning bars!
What is the best melt and pour soap base for dry skin?
What is the best moisturising soap for skin? A pre-made melt and pour soap base is the perfect starting point for soap recipes for beginners. A few quick notes about the different melt and pour soap bases:
- goat milk soap base - Great for dry, sensitive skin and eczema. Goatmilk contains many minerals and vitamins, and is very nourishing for the skin.
- shea butter soap base – Great for dry and mature skin. The addition of shea butter makes this melt and pour soap a great choice for a moisturizing soap.
- cocoa butter soap base: Great for very dry skin. Cocoa butter gives the melt and pour soap base a rich lather and excellent moisturizing properties.
- olive oil soap base – Great for all skin types. Mild olive oil melt and pour soap base is hydrating and suitable for all skin types.
- hemp seed oil soap base – Great for dry, irritated skin. This soap base is soothing and healing.
- honey soap base – Great for all skin types. This soap base is soothing and moisturizing and has a slight honey scent.
- aloe vera soap base – Great for dry, itchy skin. Clear aloe vera soap base has a silky texture, and the soothing qualities make it a good choice for a hydrating winter soap.
- glycerin soap base – Great for normal to dry skin. Glycerin is a humectant, meaning it locks moisture in the skin. Glycerin soap base is translucent, too, and will make clear soap bars.
Tips
I chose the goat milk base for this easy melt and pour soap recipe because this soap base has a delicate, silky lather and feels the most moisturising of them all. The opaque white appearance makes it easy to colour and customise the soap.
Olive oil, aloe vera, hemp seed, and honey soap bases usually have a tint, which can make it difficult to colour them. Shea butter and goat milk soap bases are white and can easily be coloured.
Melt and pour soap additives for moisturizing soap
The secret for the best moisturizing soap for dry skin is enriching the DIY soap recipe with a moisturizing oil. The melt and pour soap bases are great, but adding extra oils into this easy melt and pour soap recipe makes the homemade soap rich and hydrating.
Hydrating oils for melt and pour soap
I used cucumber seed oil since it’s very lightweight and incredibly moisturizing, but you have a few more options to choose from:
- cucumber seed oil – This oil feels lightweight, absorbs quickly and is an excellent moisturizer for dry or mature skin.
- hemp seed oil – Hemp seed oil is rich in fatty acids and leaves the skin hydrated all day long.
- meadowfoam seed oil – This oil feels moisturizing and conditioning and will contribute to a creamy lather.
- oat oil – Oat oil absorbs quickly into the skin and provides long-lasting hydration.
Of course, popular oils like sweet almond, jojoba, or fractionated coconut can be used, too.
Don’t exceed 2 tablespoons because adding more can weigh down the leather and cause sweating.
Vitamin E
Vitamin E is a versatile and useful ingredient for homemade skincare products and aids anti-ageing treatments. It acts as a natural antioxidant neutralising free radicals while helping to moisturise and soften the skin.
I used vitamin E capsules for this moisturizing hand soap. Just cut open two capsules with the tip of a small pairing knife and squeeze the content into the liquid melt and pour soap base.
Essential oils for the best moisturizing soap for dry skin
I recently shared a moisturizing and skin-soothing essential oil blend in my snowflake bath bomb recipe. This hydrating essential oil blend is kid-safe, has a fresh minty smell (think Christmas soap and easy holiday gifts) and is perfect for moisturizing and conditioning your skin.
Here is what we need to make the essential oil blend for this moisturizing soap recipe:
- bergamot mint – Bergamot mint is the gentlest mint essential oil for skin care. It has a clean, minty scent and a slight cooling effect.
- manuka – Manuka essential oil restores moisture in the skin and its calming, herbaceous scent pairs well with the other EOs.
- palmarosa – Palmarosa has a fresh, floral smell and excellent skin-balancing properties, suitable for all skin types.
You can find the exact amounts need in the recipe box below.
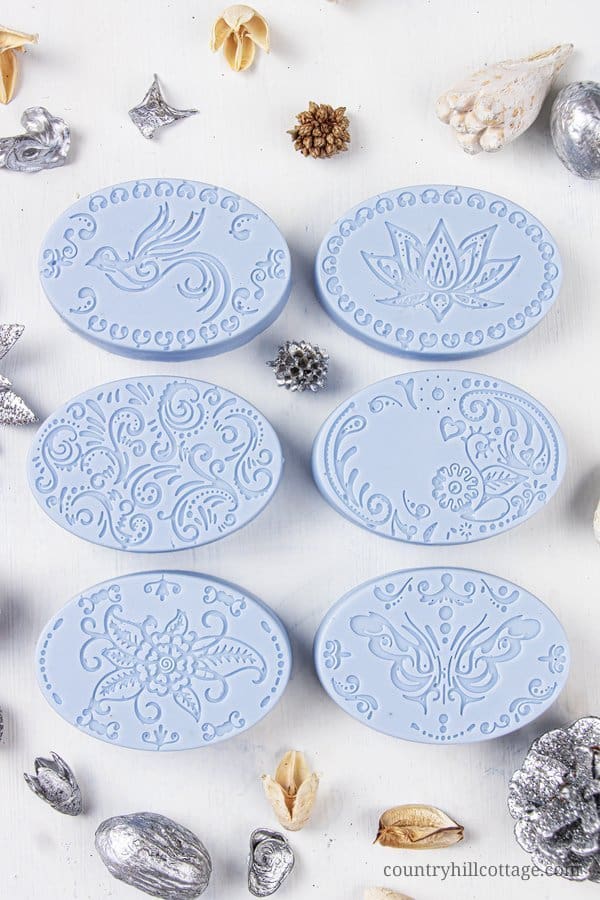
How to make moisturizing soap with essential oils
One of the best things about this moisturizing soap is that even though it looks fancy, it’s very easy to do! Let me show you how to make soap for sensitive skin:
- Cut the soap base into small cubes, approximately 1 in / 2.5 cm in size.
- Add the soap cubes into a microwave-safe jug or container and add the mica if using. Something with a spout is best because we have to pour the soap into the silicone mould later on.
- Melt the soap in the microwave set to medium power in 1-minute intervals. Take the soap out of the microwave after every interval and stir. Melt and pour soap can burn, melting in short bursts and stirring help to avoid that.
- Once the soap is completely melted, add the cucumber seed oil, vitamin E, and essential oils. Give the soap a stir to combine the ingredients.
- Next, pour the soap into the silicone mould. Optionally, spritz the soap with rubbing alcohol to dissolve bubbles.
Put the mould in the refrigerator for 1.5 to 2 hours or until the soap feels hard and solid. Carefully peel back the silicone to unmould the soap bars.
Tip: The melt and pour soap mold is relatively soft, so place it on a cutting board or tray. This way you can easily lift and move the mould without damaging or spilling the cooling soap, for example, when you transfer the soap in the refrigerator to harden.
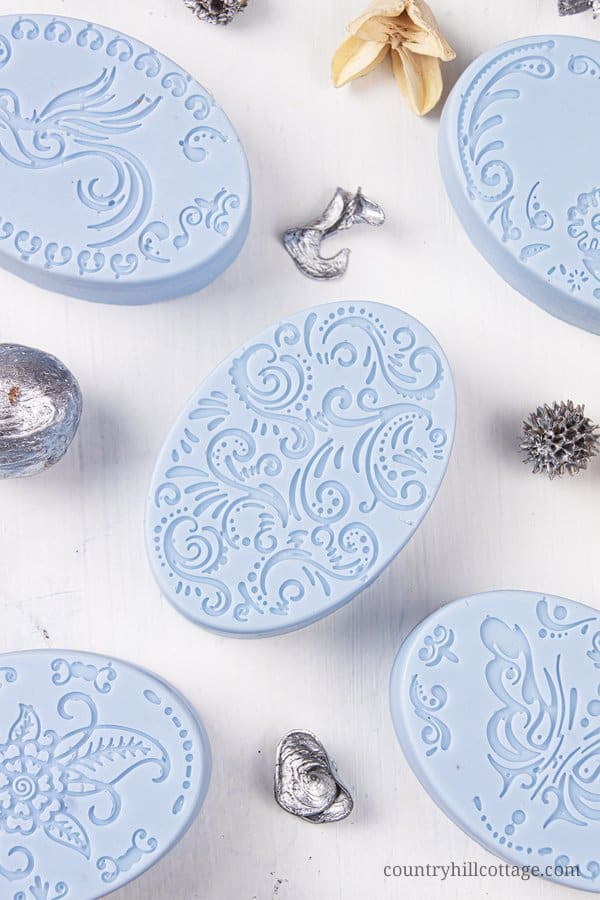
Tools and supplies for DIY moisturizing soap
Tab or click the links below to shop the tools used to make this free melt and pour soap recipe:
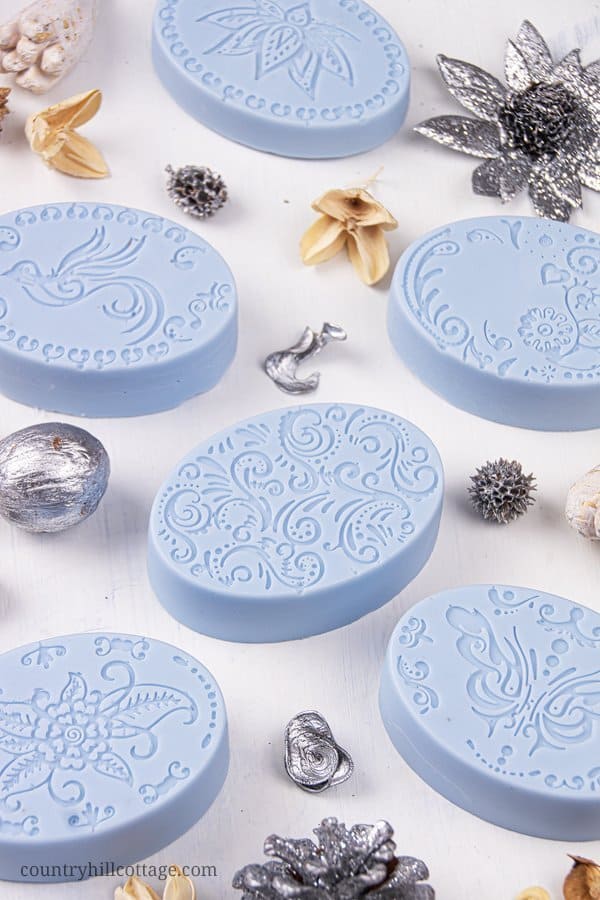
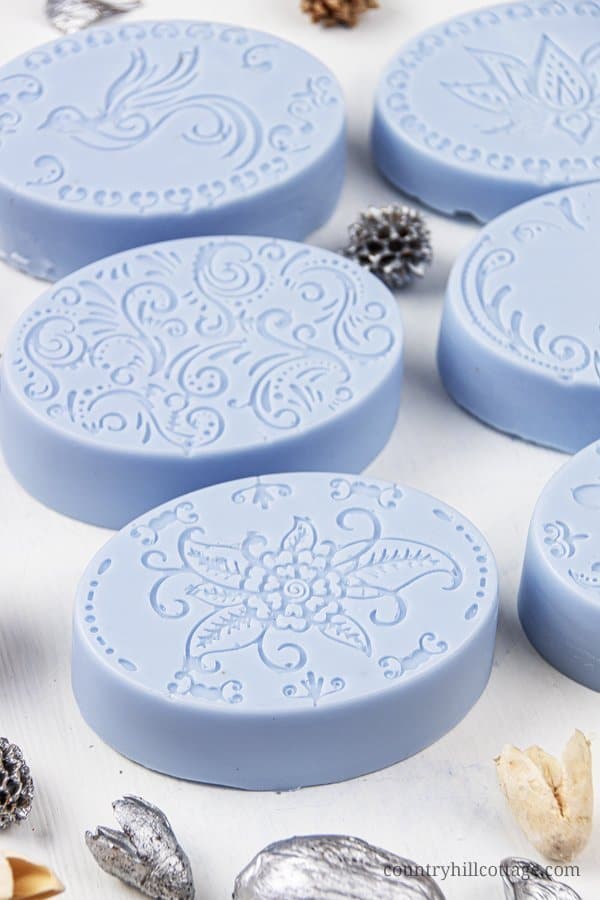
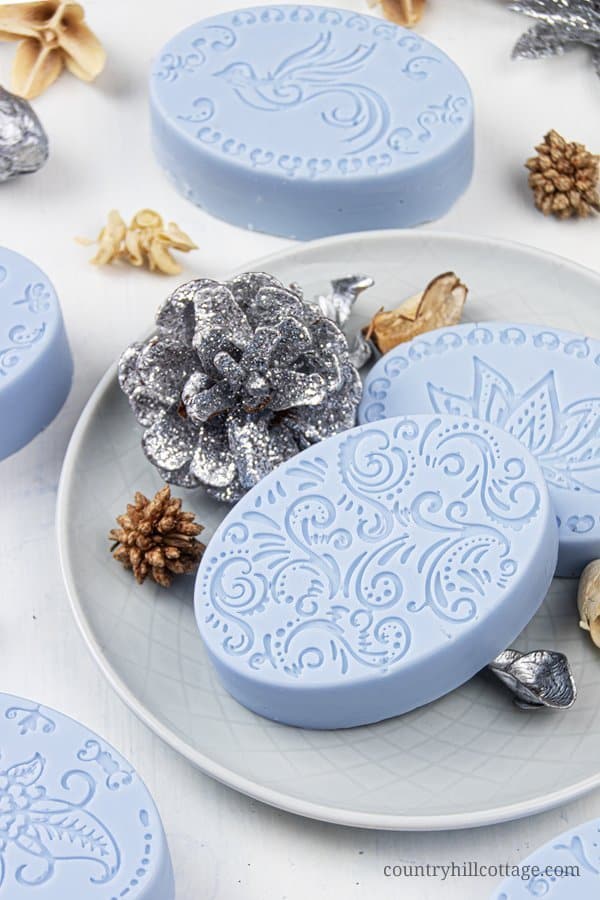
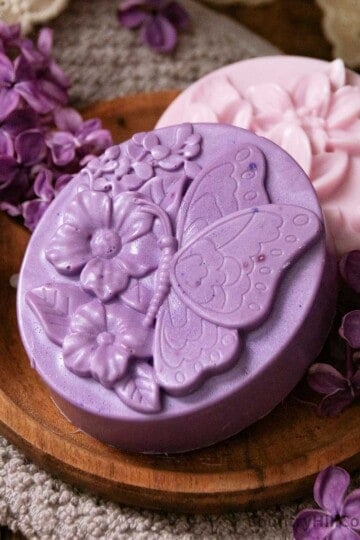
- soap mould – This beautiful silicone mould creates gorgeous hand soap bars with a beautiful decorative pattern. The soap bars have a good size, and the mould can be used for many soap making recipes. A mould for rectangular soap bars is also available.
- glass jug – Use a large microwave-safe and heatproof jug with a spout to melt the soap. I love this large glass Pyrex jug, which not only makes it easy to melt and mix the soap ingredients, but also helps with pouring the soap into the mould.
- whisk – A balloon whisk helps to mix and combine the ingredients.
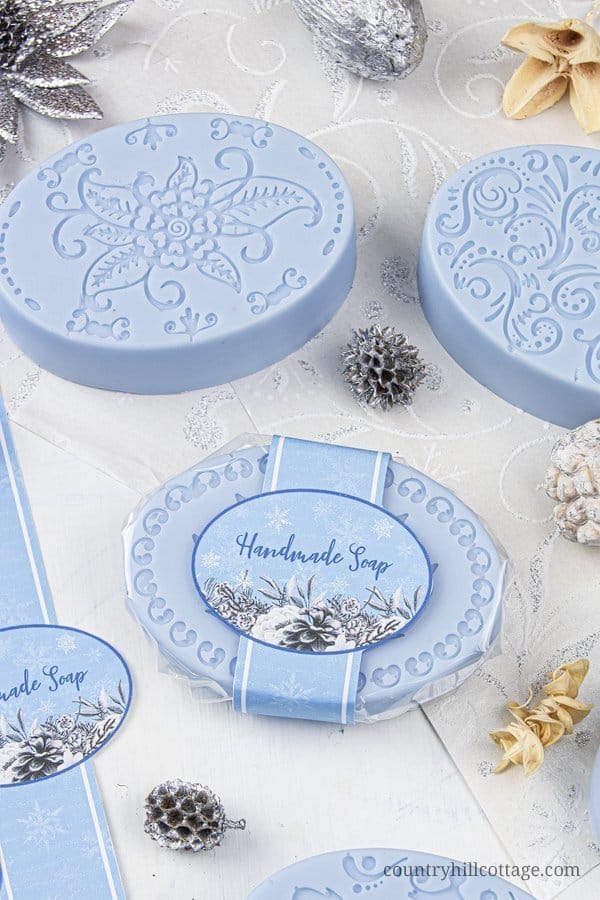
A beautiful and easy seasonal holiday gift idea
Add this DIY soap tutorial to your list of easy handmade Christmas gift ideas. Since melt and pour soap is so quick and easy to make, it’s a great craft project for any skill level and an excellent last-minute gift idea.
Wondering how to package melt and pour soap for gift giving? Easy! First wrap the soap tightly in plastic wrap / cling film, a nice wrapping paper and our free printable soap wrappers. You can also decorate your homemade holiday gift idea with small bauble ornaments or other holiday decorations. So pretty, right?
The printable wrapper can be download at the end of the post. For more beauty gift ideas, check out this pamper hamper or this DIY wellness gift kit.

More homemade winter skincare ideas
Whether you need more winter skincare ideas or just enjoy making natural products, the following homemade beauty recipes will make your skin looking and feeling great!
Bath & Body
- Hawaiian black lava bath salt with cornflower and hibiscus
- moisturizing snowflake bath bombs
- body lotion for dry skin with cornflower and chamomile
Face
- 6 blue clay mask recipes
- exfoliating cleansing balm with jojoba beads
- hydrating eye cream with birch sap
- lip repair cream with berry wax and pomegranate seed oil
- face moisturiser for dry and sensitive skin

DIY Moisturizing Soap for Dry Skin
See how to make a moisturizing soap for dry skin in just 10 minutes! This easy DIY melt and pour soap recipe with essential oils is simple to make and very hydrating. The pretty homemade hand soap is a quick handmade Christmas present and beauty gift idea that every skincare lover will appreciate.
Materials
- 19 oz / 540 g goat milk melt-and-pour soap base (or shea butter if vegan)
- 2 tablespoon cucumber seed oil
- 2 vitamin E capsules
- 50 drops / 2.5 g / 0.08 oz bergamot mint essential oil
- 30 drops / 1.5 g / 0.08 oz manuka essential oil
- 20 drops / 1 g / 0.04 oz palamrosa essential oil
- ½ teaspoon mica (optional)
Tools
- silicone soap mould
- cutting board
- knife
- microwave-safe glass jug
Instructions
- Cut the soap base into small cubes, approximately 1 in / 2.5 cm in size.
- Add the soap cubes into a microwave-safe jug or container and add the mica if using. Something with a spout is best because we have to pour the soap into the silicone mould later on.
- Melt the soap in the microwave set to medium power in 1-minute intervals. Take the soap out of the microwave after each interval and stir. Melt and pour soap can burn, melting in short bursts and stirring help to avoid that.
- Once the soap is completely melted, add the cucumber seed oil and essential oils. Cut open 2 vitamin E capsules and squeeze the liquid into the soap base. Give the soap a stir to combine the ingredients.
- Next, pour the soap into the silicone mould. Optionally, spritz the soap with rubbing alcohol to dissolve bubbles.
Tip: The silicone soap mould is relatively soft, so place it on a cutting board or tray. This way, you can easily lift and move the mould without damaging or spilling the cooling soap. - Put the mould in the refrigerator for 1.5 to 2 hours or until the soap feels hard and solid. Carefully peel back the silicone to unmould the soap bars.
Recommended Products
As an Amazon Associate and member of other affiliate programs, we earn from qualifying purchases.


Printable Soap Wrapper
Tab or click the button below to download free printable winter soap wrapper!
Over to you!
Thanks so much for visiting Country Hill Cottage – we’re so happy you’re here! Have some feedback you’d like to share? Leave a note in the comment section below!
If you enjoyed this post, please share it using the social media buttons you see below the post.
For more crafts, beauty DIYs and recipe, follow us on Pinterest, Instagram, and Facebook.
Irena xx
Hi Tara! This is a melt and pour soap recipe. Melt and pour soap can be used right away but needs to be wrapped in plastic wrap if you want to store/gift it so the soap doesn't draw moisture and softens.
Cold process soap needs to cure for a couple of weeks before it can be used. This type of soap doesn't need to be wrapped.
I know that soap making terminology can be confusing. I hope this helps and please reach out in case you have another question.
Question is this considered a cold pressed soap or melt and pour ? I had watched a video by the lady you mentioned above who I believe made a cold pressed soap Rebecca from soap deli news and she was saying that a cold pressed soap can be wrapped in shrink wrap or a Saran Wrap for gifting but a melt and pour needs to cure have air and protect from moisture so you wouldn’t want to wrap those soaps ... Is this recipe one I can wrap or I need to let it cure 4-6 weeks around lots of air and no moisture ?
Thanks in advance
Tara
Thank you so much, Tara! The recipe makes 6 soap bars with the mold I used. Happy making!
These are absolutely gorgeous ! Thank you so much for sharing this recipe . I plan to make these moisturizing soap bars in the near future and was wondering how many bars do you get from the recipe if I buy the mold you listed?
( example : recipe makes 6 bars using the mold listed ) ?
Thanks I’m advance !!
Thank your for your kind comment, Dawn!
You can substitute palmarosa with lavender, clary sage, or geranium.
Manuka essential oils is pretty unique, the best substitute is helichrysum. But since helichrysum is pretty expensive, you can also use bergamot, calendula, myrrh, or tea tree.
Hope this helps and please let me know in case you have another question!
First and foremost, thank you for sharing your DIY recipes, they all look amazing.
In your DIY Moisturizing Soap for Dry Skin recipe, I cannot find Manuka and Palamrosa essential oil, do you have any suggestions for substitutions?
Thank you 🙂
Hi Melanie! The mica powder is added in the 2nd step. You cut the soap into small cubes, add them with the mica into a heat proof container and then melt. You can give it a stir once the soap is melted. Hope this helps and let me know in case you have another question!
I plan to give these a try soon. I did not see where you add the mica powder, and do you stir after adding?
Such beautiful soap! I can't wait to give this one a try!
Thanks so much, ladies! You're right these are lovely in a guest bathroom or as a DIY holiday gift.
Such a lovely shade of blue! We can see these soaps in a fancy powder room for guests! Gorgeous!
Thank you so much, Cari! The soap bars are lovely holiday gift for sure.
This soap is so pretty! I love the color and the mold. Thanks for the labels, too. What a great gift idea.
Many thanks, Rebecca! The EO blend gives a really lovely scent and I love this mould.
These are so pretty! I love the labels too. What a lovely holiday gift idea.