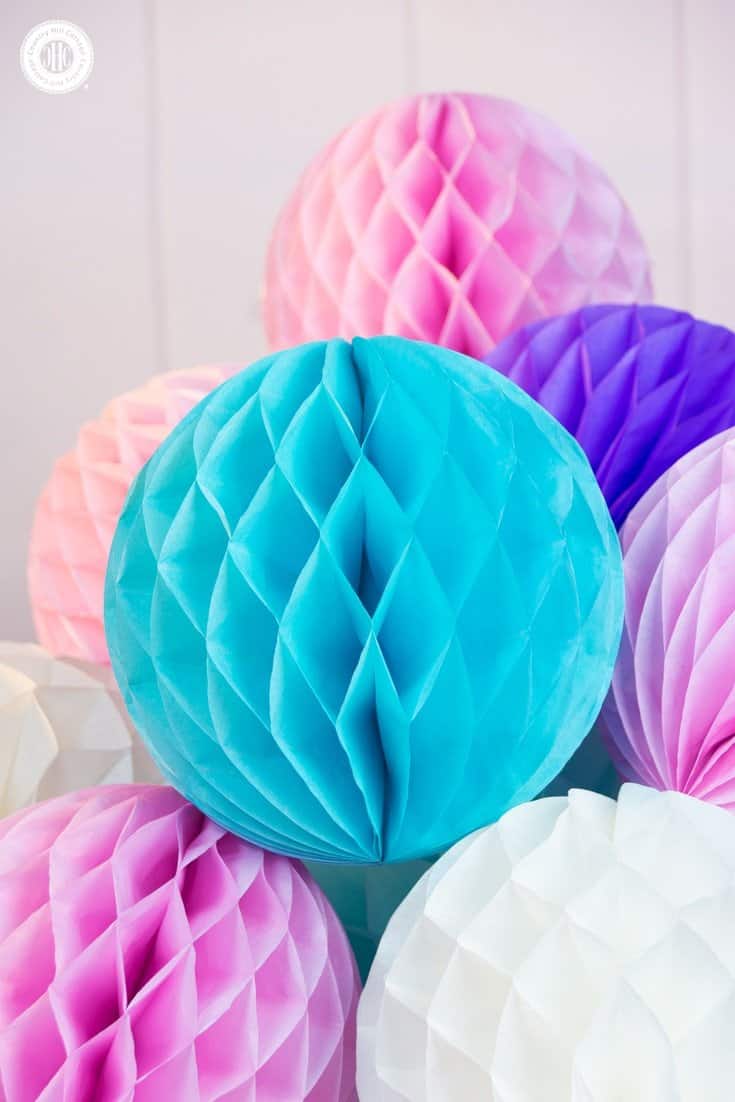
Let’s continue our series of opulent paper decorations with beautiful honeycomb pom poms! Just like regular pom poms, they’re made and you can cut them into many different shapes. The technique for creating honeycomb pom poms is a bit more advanced but we created a nifty template to make crafting them easier, you can download the printable at the end of this post.


More crafty tutorials
If you’re feeling crafty, please also check out these creative projects:
- How to make a Gift Bag
- Giant Paper Dahlias
- Swarm of Bats Wall Decoration
- Giant Paper Roses
- DIY Tassel Garland
- Paper Rosettes
- Tissue Paper Butterflies

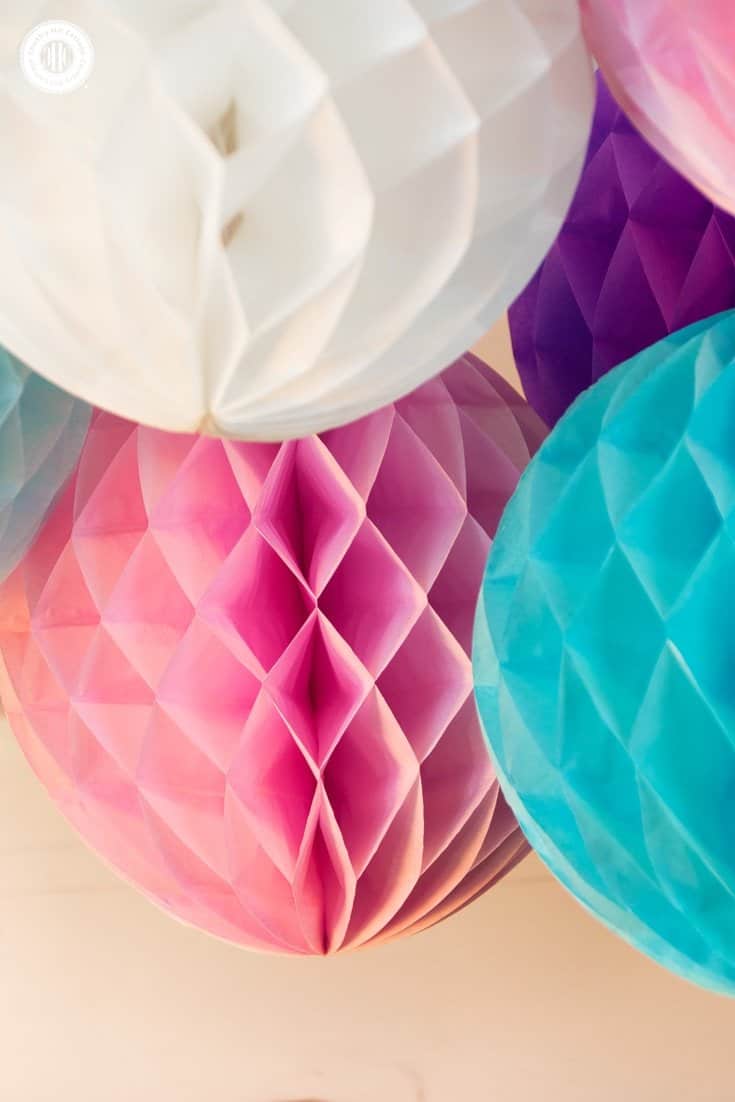
Honeycomb Pom Poms Variations
Once you’ve mastered the technique to create honeycomb pom poms, you have almost unlimited possibilities to create beautiful variations!
1) Create a striped effect
To create a striped or layered effect vary the colour of the tissue paper every three to four sheets. The stripes will get bigger the more sheets of one colour you use before switching the paper.
2) Make different shapes
You can also cut the honeycomb into different shapes, like diamonds or hearts, by using other templates.

DIY Honeycomb Pom Poms Instructions
Use honeycomb pom poms as décor or for parties, weddings or simply your home!
Materials
- 50 sheets of tissue paper
- a piece of carton
- glue stick
- double-sided tape
- thread
- glue guide template (download below)
- circle template
Tools
- self-healing cutting mat
- metal ruler
- blade knife
- craft scissors
- pencil
- needle
Instructions
- Cut the tissue paper. Using a ruler and a blade knife, trim 50 sheets of tissue paper into 26 cm x 26 cm (10.2 in x 10.2 in) squares. To speed up this process cut several sheets at a time. Print out the gluing template twice and glue the two templates together.
- Create the honeycomb structure. Place a tissue paper square on the template and run a glue stick vertically across the solid lines. Place the next sheet on top and add glue along the dotted lines. These lines are our glue guides and indicate where to apply glue. Alternate the solid and dotted lines between each sheet to create the honeycomb structure and gently rub along the glue lines, so the sheets stick.
- Cut out the shape. Apply glue to both halves of the circle template and adhere both semicircles to the honeycomb. It’s important that the honeycomb structure is on the side of the template, not on the top and bottom. Cut out both halves, place them on the gluing template and glue them together along the solid lines.
- Secure the pom poms. To secure the pom pom, pull a threaded needle through the corner of the pom pom and tie a knot. Leave a little extra to hang the pom pom and repeat this process on the other corner.
- Finish the honeycomb pom-poms. Stick small strips of double-sided tape to one semicircle. Unfold the pom pom and secure the back by firmly pressing the two semicircles together.
Free Printable Honeycomb Pom Poms Templates
Click on the button to download your printable templates.


Angie
Monday 1st of April 2019
If I require smaller pom pom would this template still work or would it need to be adjusted
Country Hill Cottage
Monday 1st of April 2019
Hello Angie,
If you want a smaller pom pom it's best to print out the template at a smaller scale. To do this, open the template in Adobe Reader and choose the option "Print." In the printing dialog box, reduce the size from actual size/100% to 80%, 70%, or 60%, depending how small you want the pom pom to be. Please let us know if you have any other questions and happy crafting!
Cyna xo
Huma Salma Gillani
Wednesday 23rd of January 2019
Thank you so much, it was really helpful :)
Country Hill Cottage
Thursday 24th of January 2019
Thank you!