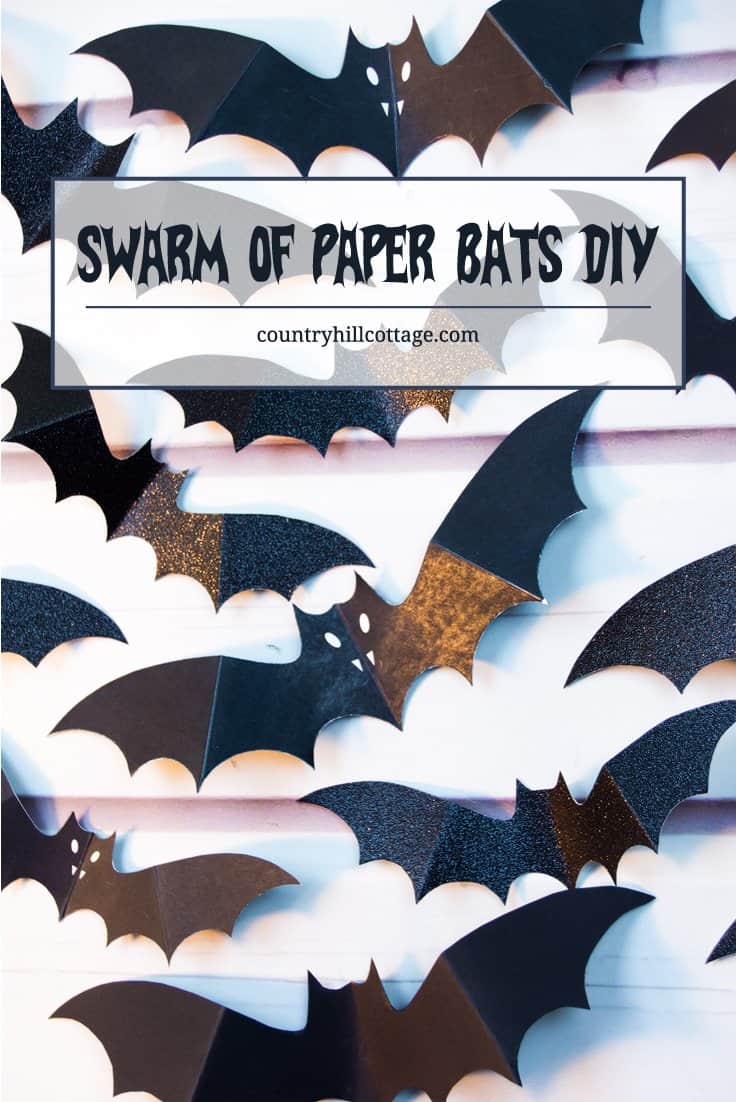
Let’s continue our Bad Bats Halloween series with a spooky swarm of paper bats! They look great as wall décor, and we mixed regular cardstock and black glitter paper to vary the textures. You can download the template we used in this quick and easy to do craft tutorial at the end of this post. Be careful, though, they might bite!

More Bad Bats Halloween Projects
Yeah, Halloween is almost here! Our paper bats and monochrome flower pots are quick and easy DIYs that will bring a spooky atmosphere to your home. And what would Halloween without sweet treats? Our Bad Bat Biscuits and Oreo Nutella Bat Bites are sure to please every Trick-or-Treater.
- Spooky Oreo Milkshake
- Halloween Flower Pots and Drip Candle Tutorial
- Bad Bat Biscuits and Cookie Pops
- Jenny’s Pumpkin Bat Cupcakes
- Oreo Nutella Bat Bites
More Paper Craft Tutorials
If you’re feeling crafty, please also check out these creative projects:
- DIY Tissue Paper Pom-Poms
- How to make a Gift Bag
- Giant Paper Dahlias
- Honeycomb Pom-Poms
- Giant Paper Roses
- DIY Tassel Garland
- Paper Rosettes
- Tissue Paper Butterflies

DIY Paper Bats Instructions
This swarm of paper bats is a super quick DIY project to get us in the Halloween spirit!
Materials
- US Letter size / A4 black paper, we used different types of cardstock and glitter paper
- US Letter size/ A4 self-adhesive paper
- bat template (download below)
Tools
- color printer
- crafting scissors
- metal ruler
- bone folder
Instructions
- Apply the template. Print the template on self-adhesive paper. Then remove the backing of the paper and attach it to the cardstock or the back of the glitter paper. Going from the middle outwards, use your hands or a bone folder to remove air bubbles.
- Cut out the bats. With intricate ornaments like these bats, it’s best to cut out roughly around the shape first. You can then cut away any excess more easily.
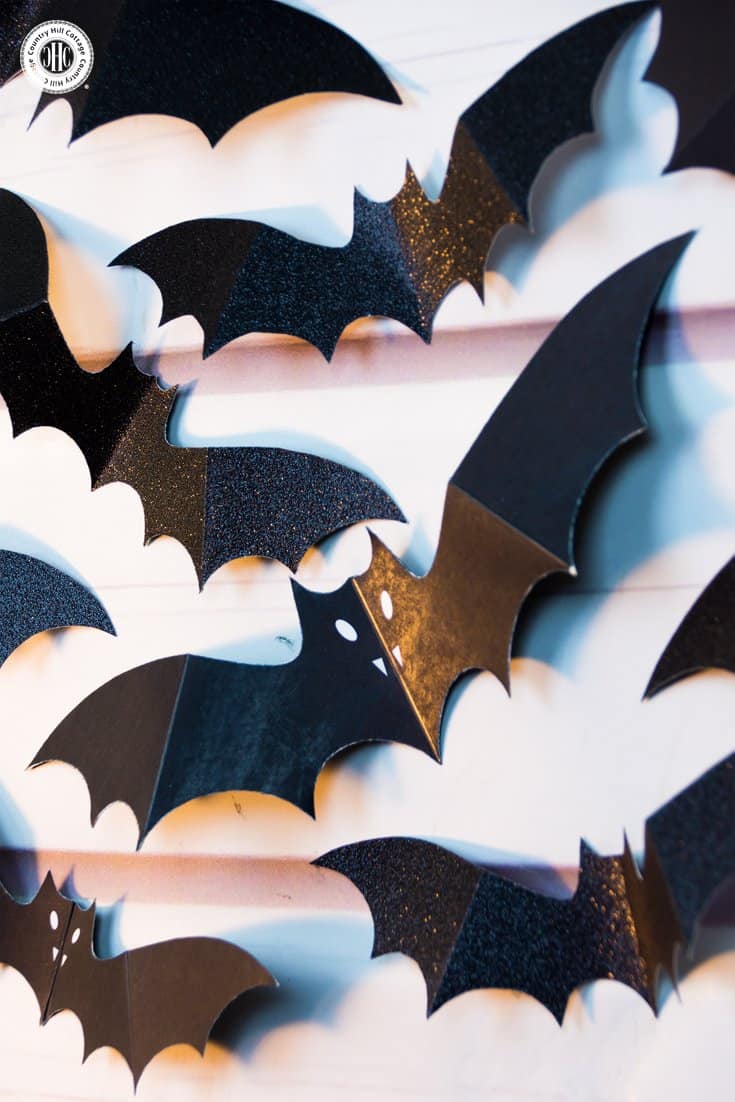
- Score and fold. Using a metal ruler and the bone folder, make score marks in the middle of the bat and on each wing. There are thin grey lines that will help you find the right spots. To give the paper bats more dimension, fold the body and the wings in opposite directions. Go over each crease with the bone folder to get a crisp fold. If you don’t have these tools, simply fold the bats freehand.
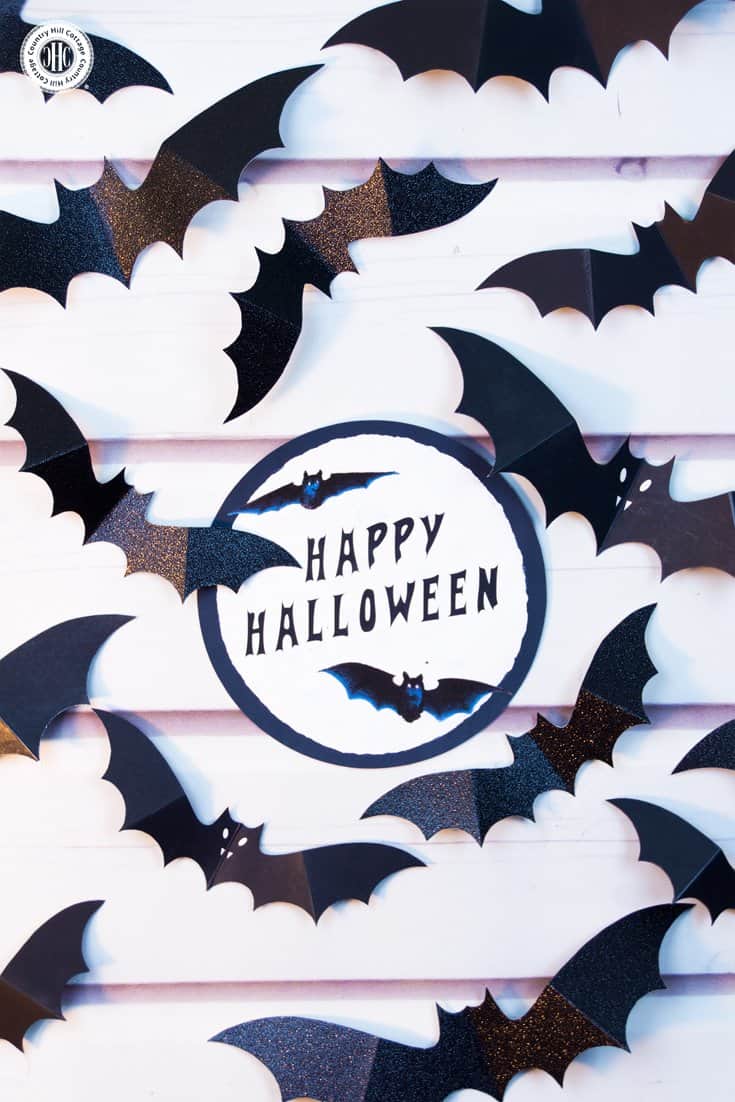
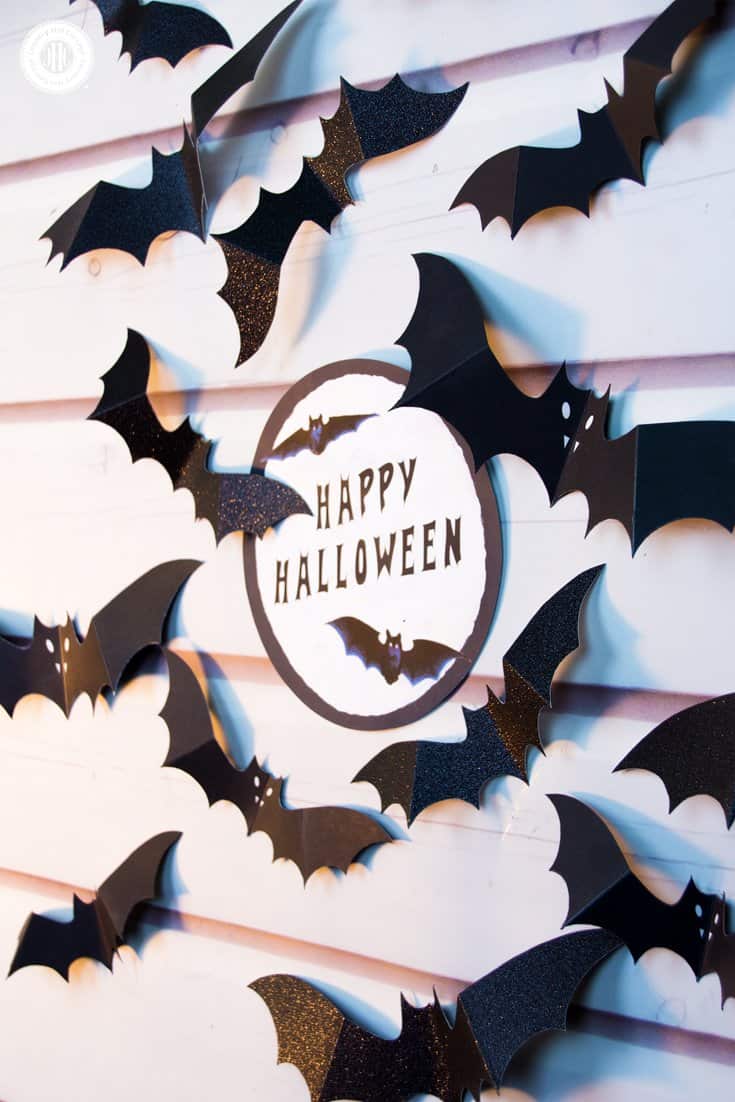
- Apply to the wall. Use double-sided tape on the back of the bats to attach them to a wall. We arranged the bats in a swarm flying around our paper moon, no pun indented.
Tip: Instead of using the paper bats as a wall decoration, you could also fix them on tree branches and display them in a vase.
Free Printable Paper Bats Template
Click on the button to download your free printable template to create paper bats!


